
1. Introduction
The following instructions are illustrated using a fictitious example. We would be happy to support you in this process or create a customised solution for your needs. Just get in touch with us!
To begin with, set everything up so that SiteKiosk Online is installed and activated on your touch display. You must also be logged into your SiteKiosk Online account in an external browser and have activated Expert mode. In the SiteKiosk Online application, go to the project editor in the browser and open the desired project for your HR terminal.
With SiteKiosk Online, it is possible to use scanners and personalised chips for faster login. The corresponding scripts can be integrated with little effort.
Windows 10 was used for this example, if you intend to use an Android device, please contact us for instructions.
In order to integrate external devices, it is necessary to activate the Expert mode of SiteKiosk Online
You can access Expert mode by adding «&expert» to the end of the URL in the browser. Confirm the entry with the ENTER key.

Further information on Expert Mode can be found on the linked page:
https://sitekiosk.online/help/en/Expertmode.html
You now have the option of using expert mode and inserting scripts under «Settings».
2. Add external devices via the UI
The following steps must be carried out on the client!
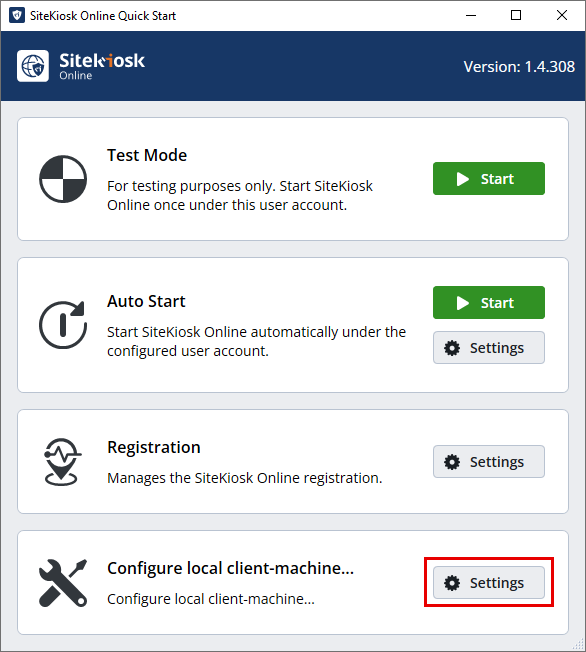
Start SiteKiosk Online on your terminal. In the start window, click on «Settings» in the «Configure local client machine» area.
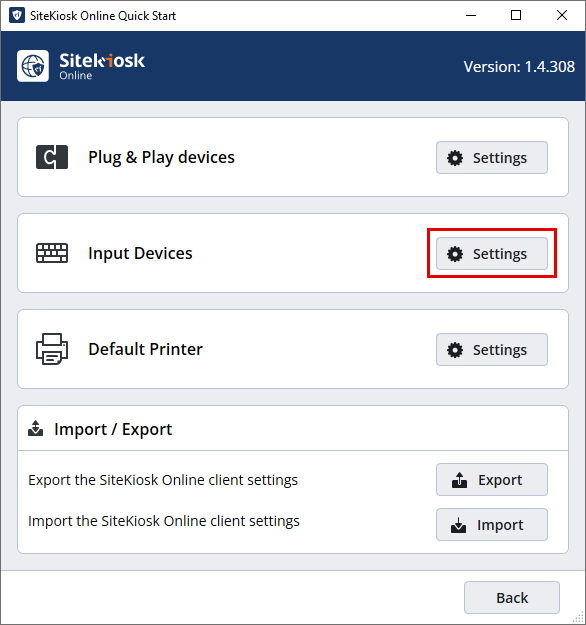
Next, click on the «Settings» button in the «Input devices» area.
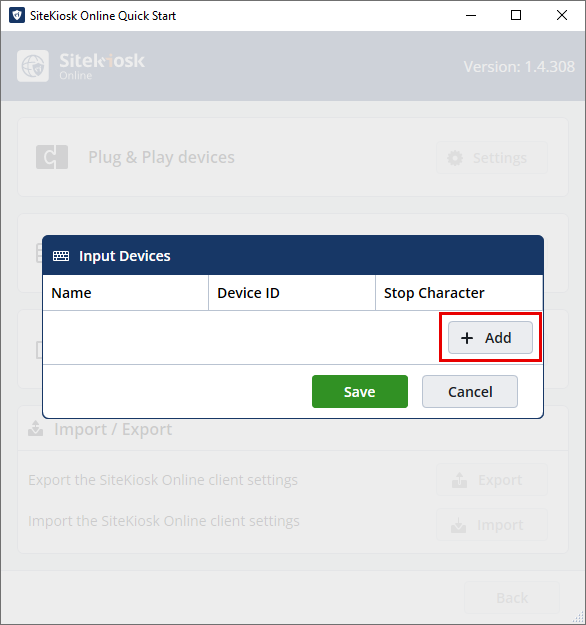
Now click on «+ Add» and type the word «scanner» into the text line in the «Name» category.
Finally, click on the green «Add» button.
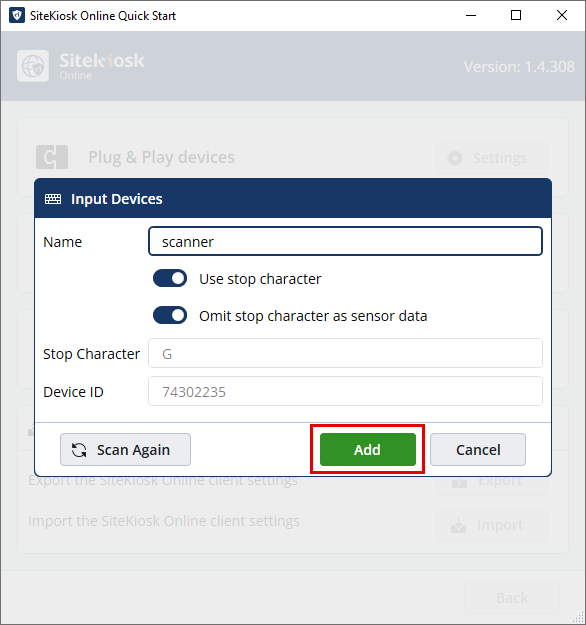
Your external scanner is now connected to SiteKiosk Online and is recognised by the software.
Once the device has been set up using the UI, the script can now be entered.
3. Add scripts
For the following steps, switch to the browser and to the SiteKiosk Online application.
3.1 Script components
Firstly, the components of the script are explained here.
For a better understanding, please also refer to our API documentation, which you can find here:
https://sitekiosk.online/projects/external/apidocs/generated/index.html
To address elements (e.g. a text element) later via the script, you must wait for the event that all elements are available.
The logic part is then executed within the callback function of this event listener:
siteKiosk.content.onContentInserted(async () => {
// Hardware access is not available in preview mode
if (!siteKiosk.env.isPreview) {
// Get the scanner device
const scanner = siteKiosk.devices.getByName("scanner");
if (!scanner) {
console.error("Scanner device not found!");
return;
}
scanner.onData((e) => handleEmulatedKeyboardData(e));
} else {
console.info("Note: No keyboard data accessable, preview only");
}
});
The scanner can now be addressed by name and registers a «Data» event listener.
As soon as data is received from the scanner, it is forwarded to the «handleEmulatedKeyboardData» function:
async function handleEmulatedKeyboardData(e) {
const data = e.data;
if (data && data.text) {
const userData = await offlineDummyFetch(data.text);
const isSuccess = applyUserData(userData.json());
if (isSuccess) {
console.info("User data applied");
siteKiosk.content.navigation.navigateToElementByTag("restrictedArea");
} else {
console.error("User data could not be applied");
}
}
}
In this case, the «offlineDummyFetch» function simulates a server request that returns the individual data for a user who can be found using the scanned ID.
The elements are then filled with the content using the «applyUserData» function in the project:
function applyUserData(userData) {
if (!userData || !userData.data) {
console.error("No user data found!");
return false;
}
const headlineElement = siteKiosk.content.getElementByTag("headline");
const pdfButton = siteKiosk.content.getElementByTag("pdfButton");
headlineElement.replacePropertyPlaceholders("text", { name: userData.data.name });
pdfButton.setPropertyValue("additionalLink.src", {
fileName: `${userData.data.pdf}`,
});
return true;
}
For this example, a placeholder ({$name}) is set in a text element and the URL to a PDF file for a popup.
3.2 Set tags
Elements must be tagged so that they can be addressed via the script:

In this example, use «headline» as the tag for the text element «pdfButton». This also refers to the button that opens the popup.
The tag «restrictedArea» refers to the page to be navigated to after successful login.
3.3 Add scripts
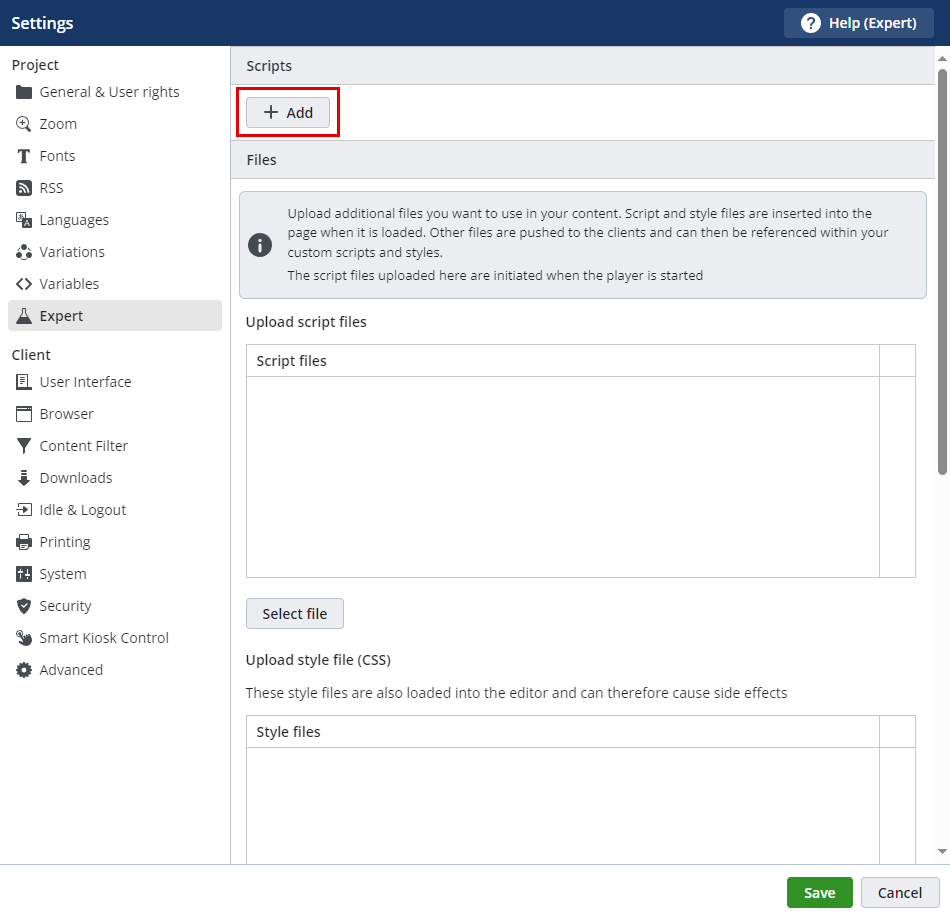
The entire script can now be inserted into the project.
Open the «Settings» → «Expert» → «Scripts» → «Add» and insert the script into the text field and click on «Save».
Now switch back to editor mode and publish the project.
4. Publication
If you now scan an NFC tag or QR code (depending on the connected scanner), the application switches to the «Restricted Area» page, which has been pre-filled with the user data. The user is given access to the stored document.
For more information on connecting hardware to SiteKiosk Online, please contact us by email at support-europe@sitekiosk.com.